


A beautiful house can look surprisingly ordinary in photographs. A cluttered kitchen, poorly positioned furniture or dirty windows can make a spacious property appear smaller and less appealing than it actually is.
For many buyers, listing photos are their first introduction to a property. In the latest Profile of Home Staging, the National Association of Realtors reported that 83% of surveyed buyer agents said staging made it easier for buyers to imagine a property as their future home.
Preparing a house for photography involves more than cleaning. Small changes to lighting, furniture placement and outdoor areas can help the camera capture what makes each room attractive. Many improvements take only a few hours, although some deserve attention several weeks before the photographer arrives.
1. Remove Clutter That Makes Rooms Look Smaller
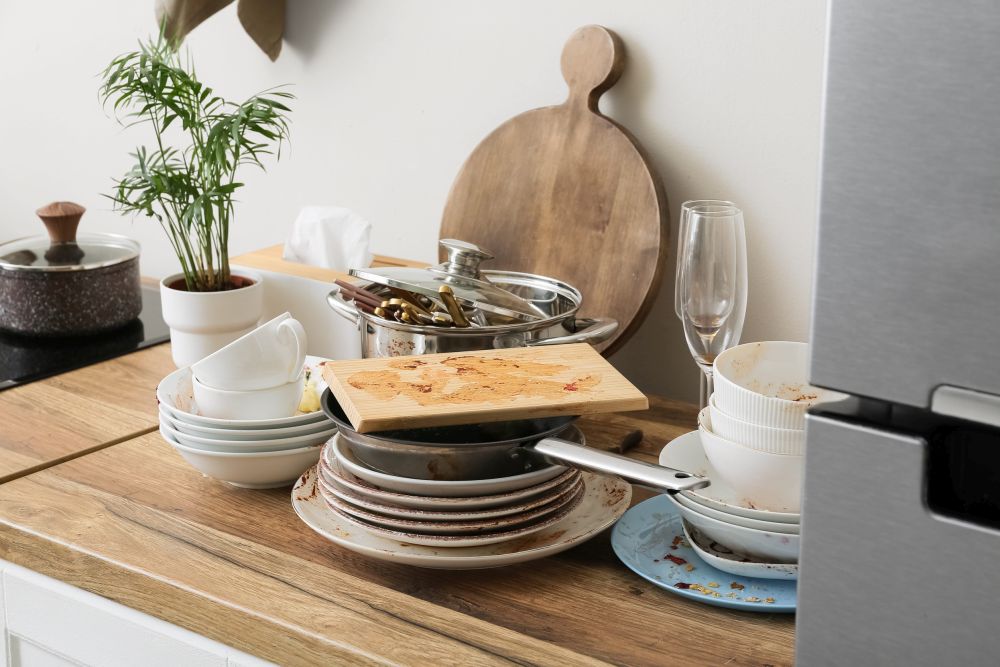
A kitchen might have expensive countertops and beautiful cabinets, but buyers will barely notice them if the surfaces are covered with appliances, groceries and cooking utensils.
The same problem affects bedrooms, living rooms and bathrooms. Everyday objects that seem harmless in person can become distracting when dozens appear inside a single photograph.
Start with the surfaces most visible to the camera.
- Clear kitchen countertops of unnecessary appliances and containers.
- Remove toiletries, cleaning products and personal items from bathrooms.
- Put away shoes, coats and bags near entrances.
- Organize bookshelves and remove excessive decorations.
- Hide pet bowls, litter boxes and animal toys before the shoot.
2. Repair Scratches, Stains and Damaged Walls
A small crack beside a window might escape attention during an ordinary visit. In a photograph, the same crack can become surprisingly noticeable, especially against a freshly painted wall.
Inspect each room for peeling paint, damaged skirting boards, loose wallpaper and marks left by furniture. Fill minor holes, repair damaged surfaces and touch up paint where necessary.
Pay particular attention to walls behind sofas and beds. Moving furniture for a better camera angle can expose marks that were previously hidden.
However, avoid covering signs of serious defects with decoration. Damp patches, expanding cracks and other possible structural problems should be investigated and repaired properly.
Photography tip. Take a test picture of each wall with your phone. Marks that seem insignificant when standing nearby may become obvious on a screen.
3. Clean Windows and Improve Natural Lighting
A bright living room can appear dark when the curtains are closed or the windows are covered in dust. Since photographs capture a limited range of light, poorly prepared windows can create dull interiors or distracting reflections.
Clean the glass on both sides where accessible, wipe window frames and remove unnecessary objects from windowsills. Open curtains and blinds to allow daylight into the room.
Photographing at the right time also helps. A room with east-facing windows may receive attractive light in the morning, whereas a west-facing living room might look better later in the day.
Artificial lights can help illuminate darker corners, but different bulb temperatures may create unnatural color differences. Check the results before deciding which lights to leave on.
Avoid shooting directly toward a bright window without balancing the exposure. Otherwise, the room may become too dark, and the view outside may disappear into a bright white area.
4. Rearrange Furniture Before the Photographer Arrives
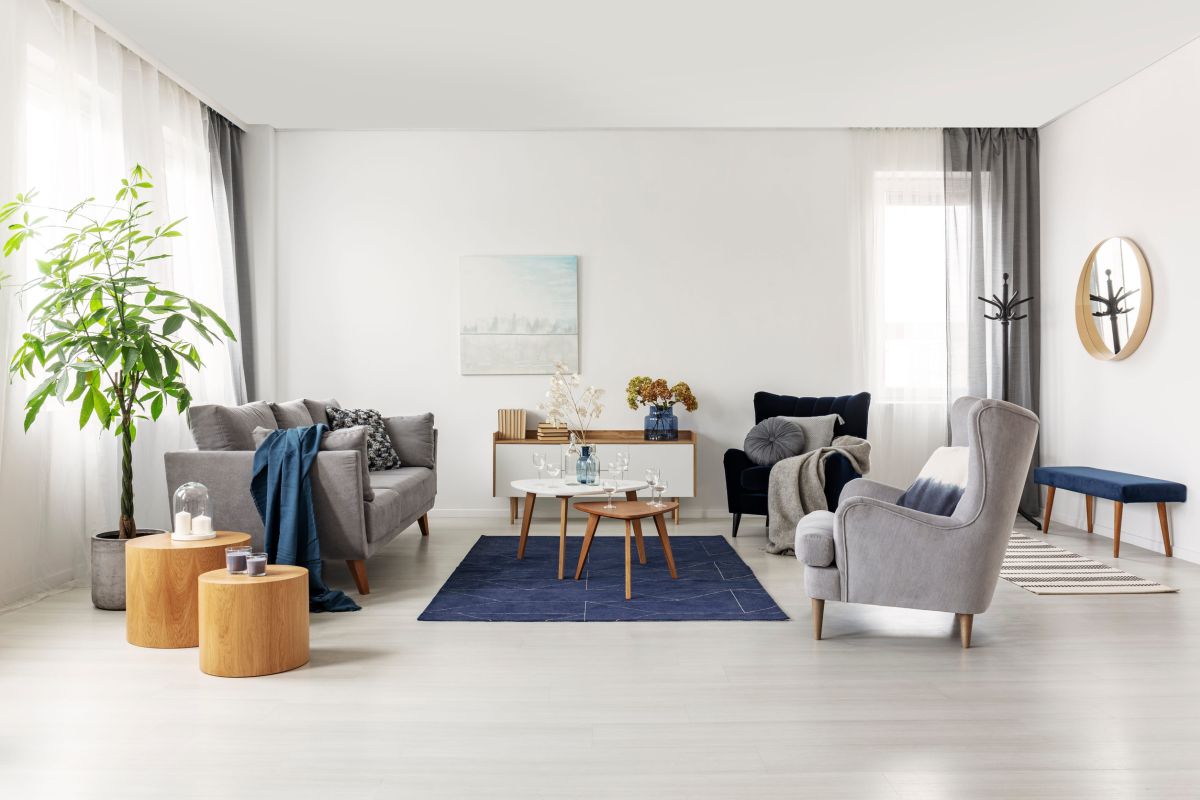
A large sofa can be perfectly comfortable but still make a room difficult to photograph. Furniture that blocks doorways, windows or natural walking routes can make the space appear cramped.
Before the shoot, stand in the corners where the photographer is likely to position the camera. Look at how much floor space is visible and which pieces of furniture dominate the image.
Move unnecessary chairs into storage, remove oversized side tables and create clear paths between the main areas of each room.
However, furniture should still be arranged in a way that makes sense for everyday living. Pushing everything against the walls can leave a large, awkward empty space in the middle.
The aim is to make the room look comfortable and functional. A dining table should have enough space around it, and a bedroom should allow buyers to see how the bed fits without blocking access to wardrobes.
5. Make Kitchens and Bathrooms Look Spotless
Buyers tend to inspect kitchens and bathrooms carefully, and photographs can reveal details that make these rooms look neglected.
Water spots on taps, stained grout and dirty shower screens can distract attention from otherwise attractive finishes.
Clean stainless steel appliances, polish taps and remove limescale from visible fixtures. Replace discolored sealant where necessary and clean tiles thoroughly.
For kitchen photography, clear the sink and remove dishcloths, washing liquid and cleaning brushes. A small bowl of fruit or a single decorative item can add color to an otherwise plain countertop.
In bathrooms, keep toilet lids closed, fold towels neatly and remove personal hygiene products. If the shower has a glass enclosure, check it carefully for fingerprints and water marks.
Do not forget mirrors. A large bathroom mirror can brighten the photograph, but it can also reveal clutter behind the camera or even the photographer.
6. Straighten Bedding, Curtains and Other Fabrics
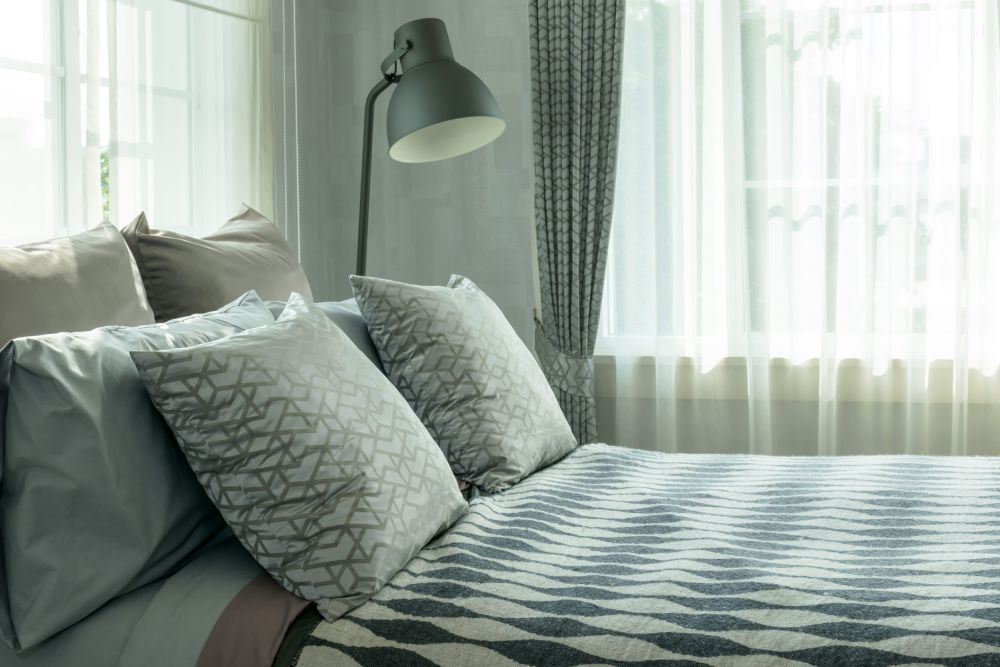
A bedroom can have freshly painted walls and expensive furniture, yet still look untidy because of a wrinkled duvet or uneven pillows.
Make beds carefully, straighten cushions and ensure curtains hang evenly. Bedside tables should look balanced without being crowded with decorations.
Matching bedding can create a more coordinated appearance, although expensive new sheets are rarely necessary. Clean, neatly arranged fabrics usually photograph better than elaborate combinations of patterns.
Check rugs as well. A rug that curls at the corners or sits at an awkward angle can make the floor look uneven.
Small adjustments matter because the camera records everything inside the frame. A crooked curtain or badly positioned chair may be more noticeable in a photograph than during a quick walk through the room.
7. Repair Fences and Make the Garden Look Well Maintained
Outdoor photographs can attract buyers who want a private garden, a comfortable seating area or space for children to play. However, damaged fencing, overgrown plants and neglected paving can make even a large garden look less appealing.
Start by mowing the grass, trimming hedges and removing weeds from paths and patios. Clean outdoor furniture and put gardening equipment away before the shoot.
Fencing deserves attention because it appears in the background of many garden photographs. Loose boards, peeling paint and leaning posts can make the entire outdoor area look neglected.
If an existing fence needs replacement, materials such as composite fencing can provide a neat, consistent appearance with less routine maintenance than traditional painted timber. Composite boards are generally resistant to rotting and do not need regular staining, although proper installation and occasional cleaning remain important.
View this post on Instagram
Choose fencing that suits the house and surrounding garden rather than automatically installing the tallest or most decorative option.
Homeowners in managed residential communities should also check which exterior improvements need HOA approval before replacing fences, adding structures or making major landscaping changes.
For photography, position garden furniture to demonstrate how the space can be used. A clean table with several chairs may communicate the potential of a patio more effectively than photographing an empty paved surface.
8. Remove Outdoor Distractions and Choose the Right Weather
A freshly painted house can still produce a disappointing exterior photograph if rubbish bins are standing beside the entrance or several cars block the driveway.
Move vehicles away, hide garden hoses and store tools before the photographer arrives. Sweep paths, remove fallen leaves and check that outdoor lights and house numbers are clean.
Weather also affects the result. Strong midday sunlight can create harsh shadows, especially around entrances and underneath rooflines. Early morning or late afternoon light may produce softer, more attractive exterior photographs.
Properties with pools, ponds or waterfront views require additional attention. Wind, changing sunlight and reflections can make water appear completely different throughout the day. The same techniques used for shooting outdoor photos near water can help determine suitable lighting conditions.
For pools, remove cleaning equipment, floating toys and covers when safe and appropriate. The water should be clean, and the surrounding area should be ready for use.
If rain is expected, discuss a backup date with the photographer. Exterior images captured in heavy rain or poor light may fail to communicate the actual appearance of the property.
9. Check Camera Angles and Remove Anything That Looks Wrong
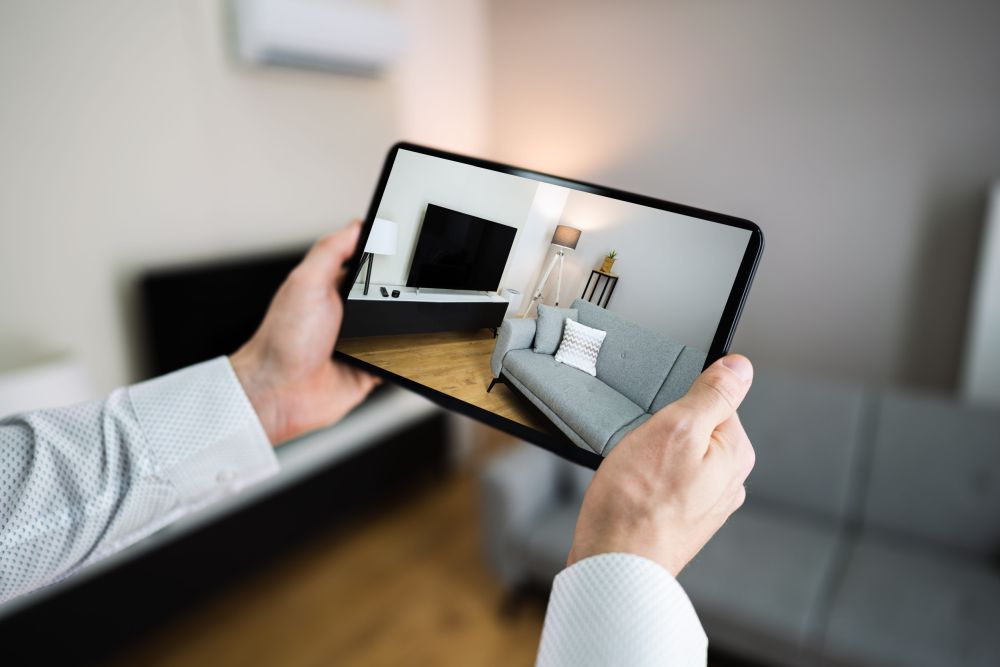
Even a clean, well-decorated room can appear unusual when photographed from the wrong position.
Very wide camera lenses can exaggerate the size of smaller rooms, stretch furniture near the edges and make walls appear distorted. A camera held too high or too low can also produce an unnatural perspective.
Before the photographer finishes, review several images on a larger screen if possible. Look for crooked vertical lines, distracting objects, reflections and areas that appear much darker than they should.
Basic photography composition and scene setup principles are useful here. The main features of a room should be easy to identify, and unnecessary objects should not compete for attention.
Be careful with editing. Correcting exposure, straightening lines and adjusting color balance can improve an image. Removing permanent defects, adding nonexistent features or changing the apparent dimensions of a room can mislead buyers.
Listing photographs should represent the property accurately. The same applies to digitally staged rooms, which should be clearly identified where required by the listing platform or local advertising rules.
Do One Final Walkthrough Before Taking the Photos
About an hour before the photographer arrives, walk through the property with your phone and take a quick picture of every room. Look at the images instead of relying only on what you see in person.
Check the kitchen counters, bathroom mirrors, bedding, window coverings and garden. Confirm that personal photographs, important documents and valuables are out of sight.
Pay special attention to the first exterior image and the main living room. Those photographs may become the first pictures buyers see when browsing property listings.
Fix anything that still looks distracting, but avoid last-minute decorating projects that could leave paint, dust or equipment in the photographs.
A clean property, accurate camera angles and carefully prepared rooms will give buyers a clearer idea of the space they may eventually visit. The best listing photographs make the property look appealing without creating expectations that the real house cannot meet.