High-quality product photography shapes first impressions and plays a critical role in e-commerce success.
A well-crafted photo scene does more than just showcase a product — it pulls attention, communicates key features, and prompts action.
By setting up an effective scene, brands can influence perceptions and drive conversions.
Define Your Vision

Start by clarifying the brand’s identity and the visual story that should accompany it. Each product must reflect its core values through visuals.
Ask what makes it worth buying and how it solves a problem. These insights shape every detail in the frame.
Define who the intended customer is. A minimalist approach may work for a tech audience, while warmth and lifestyle cues resonate better with personal care or fashion buyers.
Consider essential questions:
- What feature must be noticed immediately?
- Who will benefit most from the product?
- What visual tone feels right — clean, rustic, vibrant, professional?
By grounding the shoot in vision and purpose, the rest of the setup gains direction and consistency.
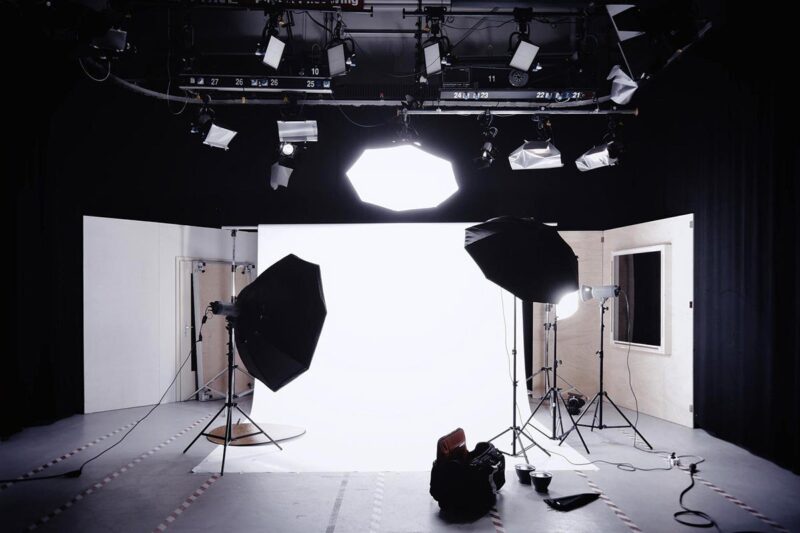
Gather Your Equipment
Creating a high-quality product photography setup doesn’t demand a massive budget. The foundation lies in using equipment wisely, not just expensively.
In fact, modern smartphones, when used with the right techniques and tools, can produce exceptional images.
What matters is how each tool supports clarity, lighting control, consistency, and visual storytelling.
Camera
Investing in a DSLR or mirrorless camera provides manual control over exposure, aperture, ISO, and focus. These features help refine details and produce sharper images.
If a smartphone is used, ensure that the camera app allows shooting in RAW format, which captures greater data for editing.
Key features to prioritize:
- Manual exposure settings
- RAW image capability
- Autofocus with flexibility for macro shots
- High megapixel sensor for crisp output
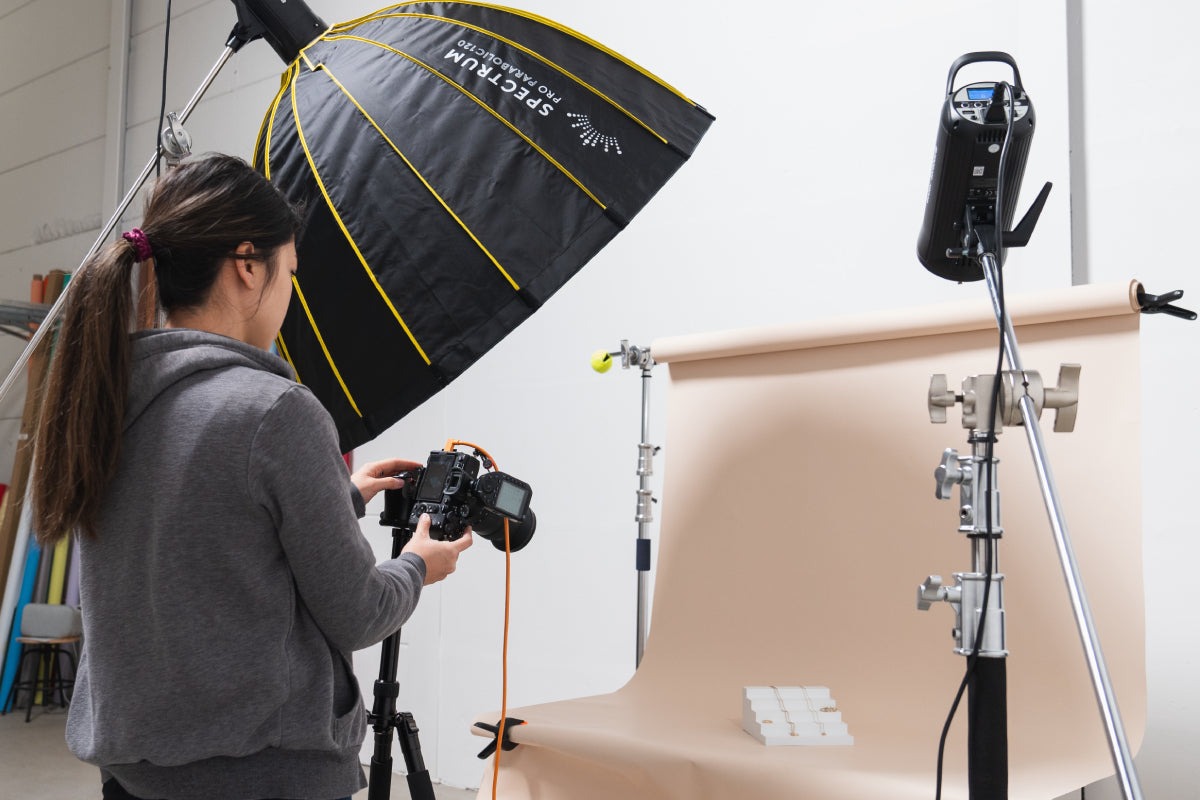
Tripod
A tripod is essential for avoiding blurry photos and ensuring consistent framing. Movement during handheld shooting introduces subtle shifts in focus and alignment, especially with longer exposures.
Consider the following benefits:
- Maintains fixed camera angle across shots
- Allows for longer exposure without blur
- Overhead tripods make flat-lay compositions simple
- Flexible tripods adjust to uneven surfaces or tighter setups
Even affordable models can serve well if they provide solid support and compatibility with the chosen camera or phone mount.
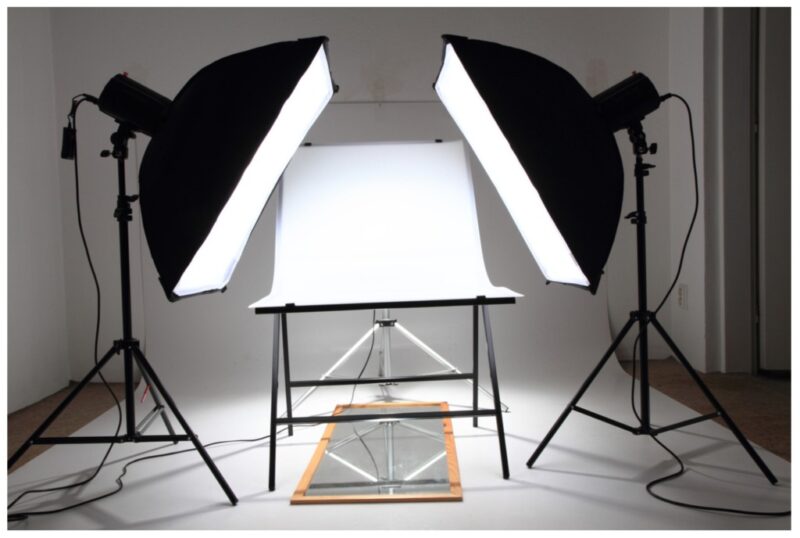
Lighting
Lighting transforms an average image into a compelling one.
Natural light works well when available, especially near large windows.
However, relying solely on daylight can lead to inconsistency, especially with shifting cloud cover.
For more control, consider:
- Continuous LED lights for steady, adjustable brightness
- Softboxes to diffuse harsh lighting and soften shadows
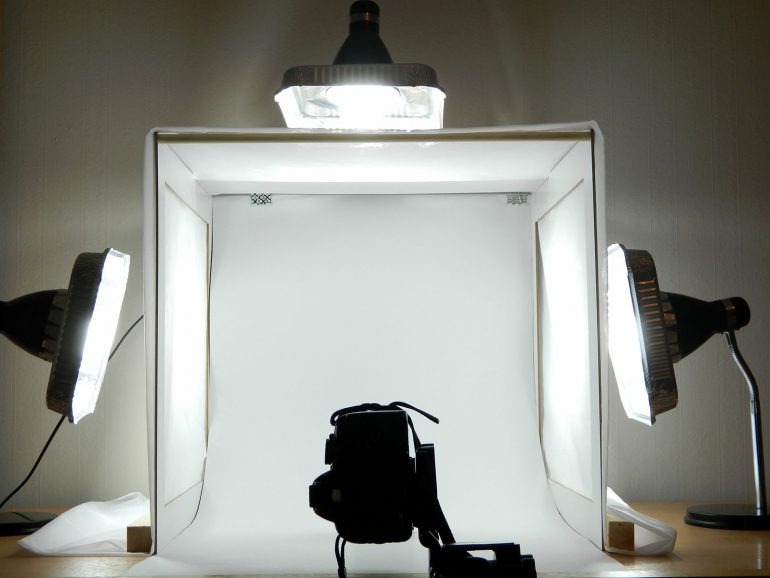
- Lightboxes for compact products, providing uniform lighting
- Reflectors to bounce light into darker areas
- Diffusers to reduce harsh highlights and glare
The lighting setup should enhance textures and colors without casting strong shadows or creating uneven contrast.
Backdrop
Backgrounds should elevate the product rather than distract.
A white sweep is often used in e-commerce to give a seamless, distraction-free environment.
Lifestyle or brand-specific shots may benefit from textured or colored backdrops that add context.
Popular backdrop options include:
- White vinyl or paper sweeps for clean product isolation
- Wood, fabric, or stone textures for lifestyle aesthetics
- Brand-colored card stock or foam boards for consistent themes
- Premium options like a professional canvas from Gravity Backdrops, which deliver hand-painted depth and non-reflective surfaces
All backgrounds must remain secondary to the product’s visual dominance.
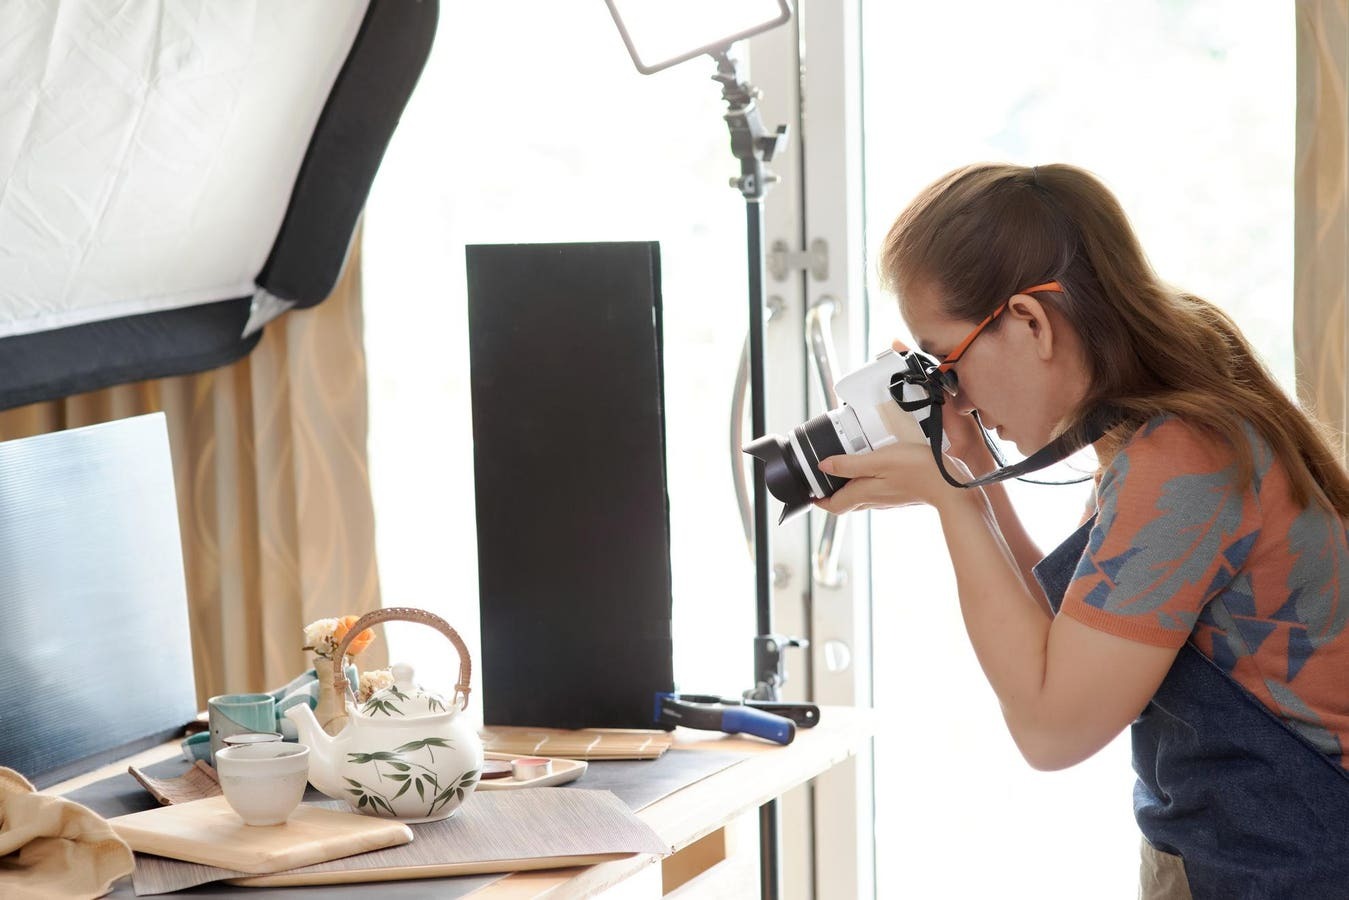
Props
Props help communicate size, use, or intended setting. When selected with purpose, they enrich the scene and add emotional cues.
For example, lifestyle brands selling outdoor or water-related products could include functional props like pond and lake accessories.
Use props to:
- Suggest how the product fits into daily life
- Provide a sense of scale
- Emphasize a key feature (e.g., a pen beside a notebook to highlight writing space)
- Match the target audience’s lifestyle or aspirations
Choose items that share the product’s tone, without pulling attention away from the item being sold.
Set Up the Scene

Creating an ideal shooting environment starts with choosing the right location. Lighting conditions directly influence image quality, so it’s critical to control them.
A space near a large window provides soft daylight that enhances texture and color.
Artificial lighting can work, but combining it with ambient sources introduces inconsistencies. Overhead lights should be turned off to avoid color cast and unexpected shadows.
To maintain a clean visual transition behind the product, use a sweep. A sweep creates a seamless curve between vertical and horizontal planes, helping eliminate visual clutter and hard lines.
Key setup tips include the following:
- Position the sweep with no folds or wrinkles
- Clamp it to a table or stand for stability
- Tape down corners to prevent slipping
- Choose a white, gray, or brand-colored sweep depending on the product style
Product placement matters as much as lighting. Items should sit flat and face forward. Remove dust, fingerprints, and packaging residue. Labels need to be clearly visible. Clean lines create focus, and symmetrical arrangements often perform well. However, not all products benefit from symmetry — use asymmetry to create dynamic tension or to lead the eye naturally.
When adjusting product position, focus on:
- Front-facing orientation
- Centered alignment within the frame
- Correcting tilt or imbalance
- Avoiding distractions like price tags or stickers
Composition and Camera Setup
Thoughtful framing separates amateur snapshots from polished product photography.
Angle choices must serve the product’s shape, size, and function. Using a consistent point of view across product lines also helps build a recognizable style.
Recommended camera angles include:
- Eye-level: mimics how customers see items on shelves
- 45° angle: adds dimensional depth for products with height and width
- Overhead (flat lay): best for grouped items or packaging design
- Macro: ideal for texture, stitching, and detailed components
Manual settings offer better control over lighting and sharpness.
If full manual mode feels intimidating, aperture priority mode gives a balance between control and automation. Use a tripod to stabilize long exposures and avoid blur.
Optimal settings for product scenes:
- ISO: 100–200 for minimal grain
- Aperture: f/8–f/16 for depth and sharpness across the frame
- Shutter speed: varies based on available light; longer exposures require a tripod
Tethering the camera to a laptop allows you to view images on a larger screen. This helps detect unwanted reflections, crooked angles, or exposure issues before capturing an entire batch.
Minor corrections during setup prevent hours of reshoots.
Post-Processing
Even with flawless camera settings, raw files often lack the polish needed for digital platforms.
Editing enhances clarity, removes distractions, and aligns visual tone across product lines. The aim is realism with refinement — not artificiality.
Software like Lightroom and Photoshop offers powerful tools to fine-tune details and bring consistency across a product gallery.
Standard retouching steps include:
- Adjusting white balance to correct color tone
- Fine-tuning exposure to brighten or darken as needed
- Cropping to maintain composition rules
- Removing dust spots or smudges
- Enhancing sharpness without introducing noise
- Boosting contrast for better visual separation
Presets can help speed up workflow and ensure all photos follow the same visual standard. These adjustments should feel cohesive without appearing forced or stylized.
When exporting, format and file size are critical for web use.
Export settings should include:
- Format: JPEG
- Color profile: sRGB for accurate web display
- File size: under 200KB for fast load times
Deliver images that are not only attractive but also efficient and SEO-ready.
Optimization for Web Use
Every platform has size and format preferences. Resize images to match container dimensions — square for Amazon, vertical for Pinterest, wide for banners.
Compress images using tools like JPEGmini or TinyPNG to retain quality while reducing load times. Slow-loading sites lose buyers fast.
File names matter. Use descriptive, keyword-rich titles like leather-wallet-black-front.jpg instead of IMG_0024.jpg. Alt tags also matter for accessibility and SEO — describe the image using target keywords in a natural sentence format.
Summary
Thoughtful scene setup helps transform product images into sales tools. Lighting, angles, background, and post-editing all work together to present the product in the best possible way.
Consistency builds trust. Creativity sparks engagement. Regular practice leads to better results. Take time to plan, shoot, and refine — and customers will notice.